- English
- Español
- Português
- русский
- Français
- 日本語
- Deutsch
- tiếng Việt
- Italiano
- Nederlands
- ภาษาไทย
- Polski
- 한국어
- Svenska
- magyar
- Malay
- বাংলা ভাষার
- Dansk
- Suomi
- हिन्दी
- Pilipino
- Türkçe
- Gaeilge
- العربية
- Indonesia
- Norsk
- تمل
- český
- ελληνικά
- український
- Javanese
- فارسی
- தமிழ்
- తెలుగు
- नेपाली
- Burmese
- български
- ລາວ
- Latine
- Қазақша
- Euskal
- Azərbaycan
- Slovenský jazyk
- Македонски
- Lietuvos
- Eesti Keel
- Română
- Slovenski
- मराठी
- Srpski језик

Why Are Seedling Trays Suddenly a Priority for Commercial Growers?
Across commercial nurseries and greenhouse operations, one small moulded component is quietly deciding how an entire season turns out. Seedling tray quality — the accuracy of every cell, the consistency of every wall — shapes germination rates, transplanting speed and how much labour a propagation programme really consumes. As protected agriculture expands and buyers keep pushing unit costs down, growers are looking upstream and asking harder questions about how these trays are produced, and what a modern production line can actually deliver.
This article covers what is driving the shift, how the manufacturing process works, and which factors separate a dependable line from an expensive one.
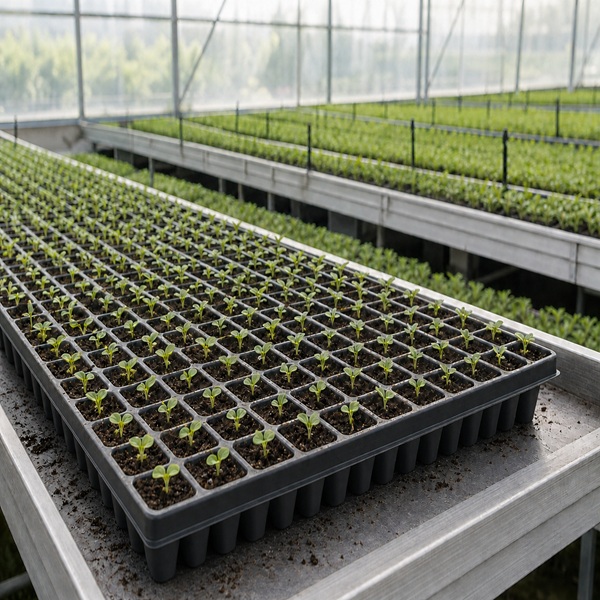
What Is Driving Demand Right Now?
Three forces are converging:
- Protected cultivation keeps scaling up. Every new square metre of glass or film greenhouse needs propagation area behind it.
- Labour has become the bottleneck. Automated seeding and transplanting only pay off when tray dimensions are consistent enough to be handled by machine.
- Material expectations are rising. Buyers increasingly ask about recyclability and, for organic programmes, compostable options.
None of that works if the tray underneath is inconsistent. Attention has moved from the tray itself to the process behind it.
How Are These Trays Actually Made?
Most rigid trays are formed from plastic sheet and then cut and drilled into their final geometry. A typical line runs through four stages.
1. Sheet feeding
Sheet or coil is fed into the line. Automatic feeding keeps tension steady — inconsistent tension shows up later as uneven wall thickness.
2. Heating and forming
The sheet is heated until it is soft enough to take the mould, then formed under pressure or vacuum against the tooling. Temperature control at this stage decides whether the finished wall is uniform or paper-thin at the corners.
3. Drilling and cutting
Holes, drainage slots and the outer profile are punched and trimmed. Integrating drilling and cutting into a single unit is one of the more practical developments of recent years: it shortens the line, removes manual handling steps and reduces the floor space required.
4. Stacking and inspection
Finished trays are counted, stacked and checked for dimensional accuracy, surface defects and overall appearance before packing.
Which Materials Are Used?
|
Material |
Where it fits |
|
PS |
The default for rigid vegetable and flower propagation trays |
|
PP |
Where repeated handling and flexibility matter more than stiffness |
|
PVC |
Cost-sensitive trays that benefit from good transparency |
|
PET |
Export-oriented programmes with recyclability requirements |
|
Biodegradable pulp |
Compostable alternatives for organic growing |
What Separates a Reliable Line From a Costly One?
Seedling tray production rewards consistency far more than peak speed. Five points are worth checking before you commit:
- Tooling changeover. How long does a mould change take, and how many tray formats must you support?
- Tolerance and wall consistency. Thin corners and uneven cells cause transplanting failures downstream — ask what tolerance the supplier holds, in writing.
- Energy per tray. Heating is the dominant energy cost, so the efficiency of the heating stage usually decides your unit cost.
- Footprint and integration. A line that combines drilling and cutting needs noticeably less floor space and fewer operators.
-
Service and spares. Moulds wear. Access to tooling, spares and commissioning support matters more than a lower quotation.
Compare quotations on cost per finished tray and on labour per shift, not on the headline price of the line.
Where Do Most Production Problems Come From?
Most faults trace back to the forming stage — seedling tray defects rarely come from the mould alone.
Uneven cell walls
Usually a heating or vacuum problem rather than a moulding one. Uneven sheet temperature, or a small vacuum leak, leaves one side of the tray thinner than the other.
Cooling too quickly, or demoulding while the sheet is still hot, distorts the tray. The correction is normally in the cooling cycle, not in the mould.
Inconsistent punching
Poor positioning or material creep during indexing. Regular checks on the positioning system prevent a batch of trays that will not stack properly.
Frequently Asked Questions
What sizes do these trays come in?
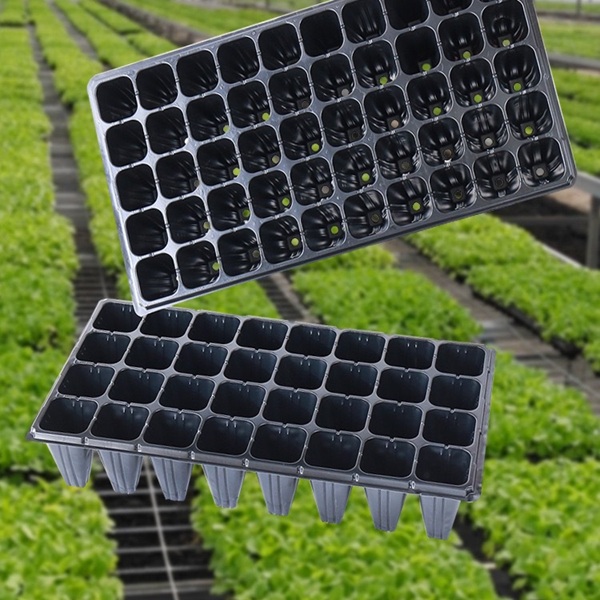
Two footprints dominate commercial practice — 540 × 280 mm and 600 × 300 mm — with cell count chosen to suit the crop and the seeding equipment.
Can one line produce several tray formats?
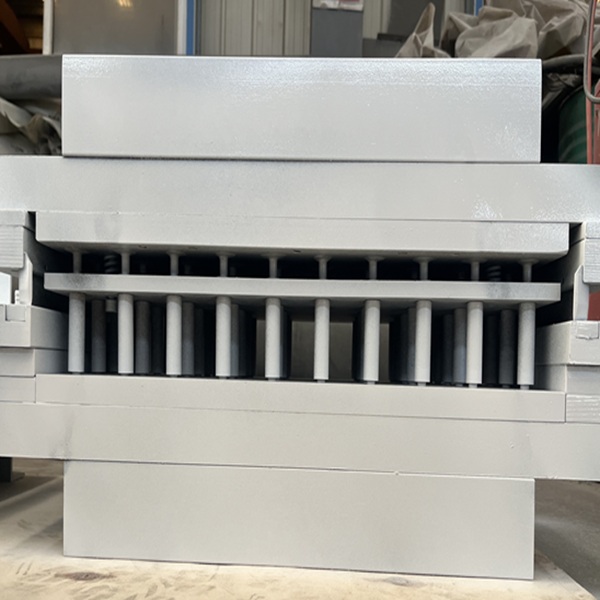
Yes. Compression moulding machines are generally built to run PVC, PS, PP and other plastic sheets, and changing the mould changes the format. Eaststar's ZK-300 / 320, for example, follows a feeding – heating – forming – cutting sequence and is built around changeable moulds.
How much floor space does a line need?
Less than it used to. Combining drilling and cutting into one unit has cut both floor space and the manual handling required on recent installations.
What determines the service life of the equipment?
Mould quality, operating discipline, maintenance frequency and the material actually run all play a part — cheap sheet wears tooling faster.
The Takeaway
Seedling tray production has stopped being a background process. As greenhouses scale and labour gets scarcer, the trays themselves have become a quality control point for the whole propagation programme — and the equipment behind them a strategic decision rather than a procurement afterthought.